The loved but loathed garage. We all have them and its a place to store all our stuff. But sometimes garage storage is not as organized as we would like it gets out of hand. The next time your spouse says, “Honey, we should go organize the garage,” review this post for some some space saving garage storage ideas.
DIY Garage Storage / Shelf / Workbench Solution | Modern Builds
Tools Used In This Garage Storage Video:
Materials, supplies, and cut-list found here.
Garage Storage Video Summary:
I have actually built shelves like this before in my garage, and he accomplished this project much better than I did. I really liked how he built each shelf first, and then attached them to the wall with the aid of support beams. His video made it seem so effortless. It really pays to have a design in mind, and stop blocks when making similar cuts.
Garage Storage Video Breakdown:
(0:13) – Cutting the structural support on the miter saw and assembling each shelf;
(0:42) – Attachment of the legs to the top shelf;
(1:01) – Wall Line layout, and the use of braces to support the shelf framing during install onto the wall;
(2:56) – Mid-video commercial…very skippable;
(3:50) – Particle board ripping and installation for each shelf and a side wall;
(5:18) – Light installation;
(5:34) – Completed project.
Unique Garage Storage Video Clips:
(0:13) – I really liked how he showed how he installed the top shelves first and supported them as he went with support beams.
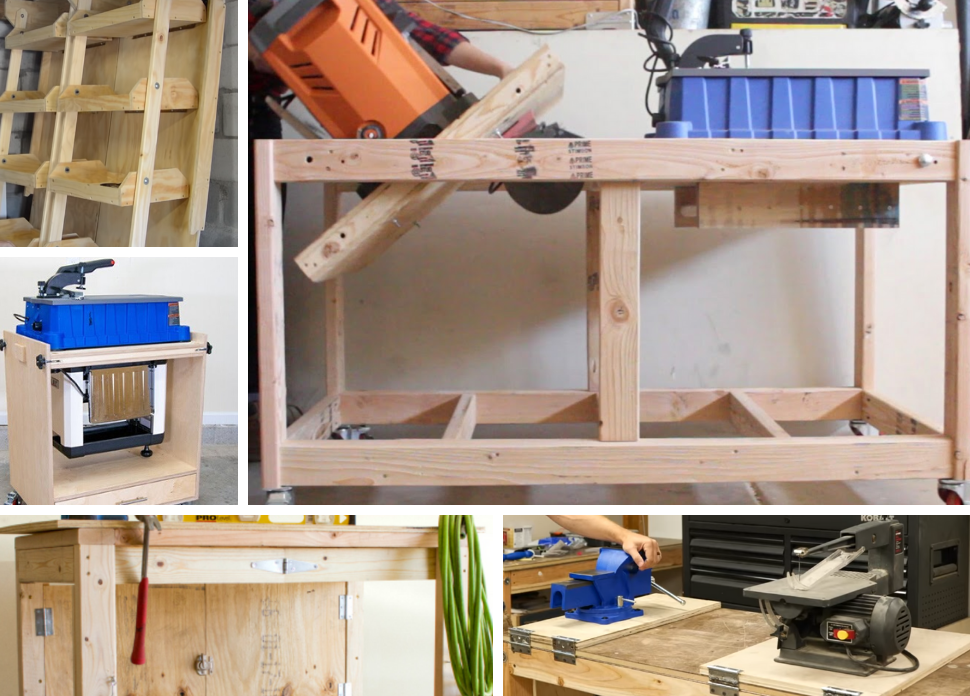
5 Garage Shop Cabinets for Ultimate DIY Storage | Fix This Build That
Garage Storage Video Summary:
If you think garage storage cabinets is a project you want to tackle, then this video is a must watch. I really liked this video because it gives so many different options when it comes to garage storage cabinets. Whether it was the ways to think about layout or the shelves inside of the cabinets themselves, this video offers really good advice on what you should be thinking about before you build.
Garage Storage Video Breakdown:
(0:13) – Overview of the project;
(1:01) – Why he chose plywood he did and construction of the first cabinet and shelves;
(1:35) – Purpose behind the shelves and holders on each side of the first cabinet;
(2:26) – 2nd cabinet for larger storage ;
(3:11) – Base cabinets and why he chose different dimensions;
(3:54) – Drawers and base cabinet table top;
(4:39) – More options for cabinet layouts;
(5:08) – Garage work bench desk and KTT;
(6:14) – Pegboard hutch;
(6:43) – 3 drawer cabinet;
(8:27) – Feet installation;
(9:05) – Explanation of plans you can purchase here for building these cabinets.
One of the Greatest Garage Storage Ideas — by Home Repair Tutor
Tools Used In This Garage Storage Video:
Garage Storage Video Summary:
The Home Repair Tutor has an interesting style of explaining his project throughout the video. If you can handle his unique style, he has some great tips for construction and layout of the ceiling joist as they relate to each other and the totes. For this project to be a great solution for your garage, I would say there are two prerequisites for this project: (i) you have to have or have to purchase totes for your garage storage, and (ii) you have a low garage ceiling or are prepared to get on a ladder to access the totes.
Garage Storage Video Breakdown:
(1:13) – Measure dimensions of tote and lip width;
(1:56) – Explanation of bottom rail construction;
(3:02) – Cutting the carriage base, top, and 2×4;
(3:25) – Marking 2×4 for attachment points;
(3:48) – Gluing/attaching 2×4 to the base and top rails;
(5:15) – Ceiling joist marking and layout;
(6:41) – Marking the carriage rail while on the ceiling for pilot holes and pre-drilling;
(7:08) – Temporarily attach the carriage to the ceiling;
(7:20) – Cut a template matching the dimensions of your totes, and use it to mark the distance for the location of the second carriage, and use that template to make ceiling marks for the second carriage;
(8:23) – Mount the second carriage to the ceiling;
(8:41) – Test the carriages with an empty tote to make sure the spacing is correct;
(8:55) – Attach carriages to ceiling with larger lag bolts.
Wasted Space Garage Storage Shelves – 202 | Jay Bates – Woodworking Videos
Tools Used In This Garage Storage Video:
Garage Storage Video Summary:
I like this video because we all have this wasted space somewhere in our garage, and jay does a great job of showing how to plan and execute a great project that will add tons of value to his garage in the future. I really like how he showed each step of the layout. He gives valuable tips and tricks to use when you want to do this project yourself.
Garage Storage Video Breakdown:
(0:45) – Design and layout of the project;
(1:15) – Ripping the 2×4 boards into 2×2 boards;
(1:50) – Measuring and cutting the support pieces;
(2:33) – Attaching the support pieces to the wall and ceiling;
(3:50) – Cutting and pre-drilling the vertical 2x4s;
(4:11) – Gluing and attaching the vertical 2x4s to the ceiling 2x2s;
(4:25) – Attaching the front horizontal floating 2×2 support with the help of a temporary support;
(4:47) – Cutting and attaching the plywood shelves.
Unique Garage Storage Video Clips:
(2:33) – I really liked how he used the pieces that would hang from the ceiling as the measurement for where to install the horizontal support cleats.
French cleat storage system for hand tools | Steve Ramsey – Woodworking for Mere Mortals
Tools Used In This Garage Storage Video:
Garage Storage Video Summary:
I liked this video because it shows what many of us have dealt with in our own garages. He then shows how easy it is to come up with different solutions for hanging each on the french cleat system. I like how he showed how easy it was cut the cleats, attach them to the wall, and then put together each individual tool holder. It makes me think this type of project is really doable, but also easily customizable and changeable in the future.
Garage Storage Video Breakdown:
(0:01) – He outlines the problems with his current system;
(1:13) – Deconstruction;
(1:28) – Ripping cleats at a 45 degree angle;
(1:37) – Explanation of how the french cleat system works;
(1:58) – Attaching the cleat to the wall and plywood;
(2:03) – Construction of tool holders attached to the cleats;
(5:37) – Summary and discussion of other garage tool storage and organization.
Unique Garage Storage Video Clips:
(2:03) – I enjoyed the different shapes and options he came up with to hold his tools.
Five Mistakes When Building My French Cleat Tool Wall! | LastingBuild
Garage Storage Video Summary:
I like this video as a primmer for anyone who who is thinking about starting a french cleat project. The issues that he had only came up in the use of the cleats after the projects were built. These tips, if followed, will assure you that your french cleat project will turn out beautifully.
Garage Storage Video Breakdown:
(0:22) – 1st mistake – he glued some of his cabinets to the wall; solution: be sure the glue is dry or wiped off before putting it on the wall;
(2:05) – 2nd mistake – having a spacer at the bottom of larger items; solution: have a spacer or multiple cleats attached to the wall;
(3:35) – 3rd mistake – different thicknesses on the wall cleat and the cleat attached to the hanging item causes the smaller items to rock at the top; solution: make sure they are both the same thickness;
(4:43) – 4th mistake – inadequate vertical cleat spacing, doesn’t allow the hanging cleat to slide in and down on the wall cleat;
(5:22) – 5th mistake – locking cleats, which didn’t allow the cleat to even get all the way on the wall.
Not a french cleat system for organizing hand tools | Matthias Wandel
Garage Storage Video Summary:
Basically, this video is of this dude, who has a nice plywood covered wall, who chose not to do a french cleat system, but make individual holders for his tools, and then he screwed those holders into the wall. His think is: once you have a french cleat system most of the tools stay where you put them anyway, so they don’t move that much. And even if you did want to move a tool somewhere, the result for him would just be two small holes in the wall. I don’t agree with that thinking, as you can very easily slide french cleats here or there to make room for new tools. And then his system is also a bit more crazy and doesn’t look as neat and clean as a french cleat system. But to each their own. If this is what suits you, go for it. As he notes at the end, it is very time consuming to build a separate holder for each item.
Garage Storage Video Breakdown:
(0:02) – Overview;
(1:07) – Drill bit set example that he mounts to the wall;
(3:48) – Removal of old tool holder and attachment of his drill bit set holder to the wall.
Lets us know what you think about this post in the comments below, or post a link to one of your favorite tutorials that we can include in a follow up post. If you would like more garage storage solution ideas, checkout our garage storage Pinterest board here.