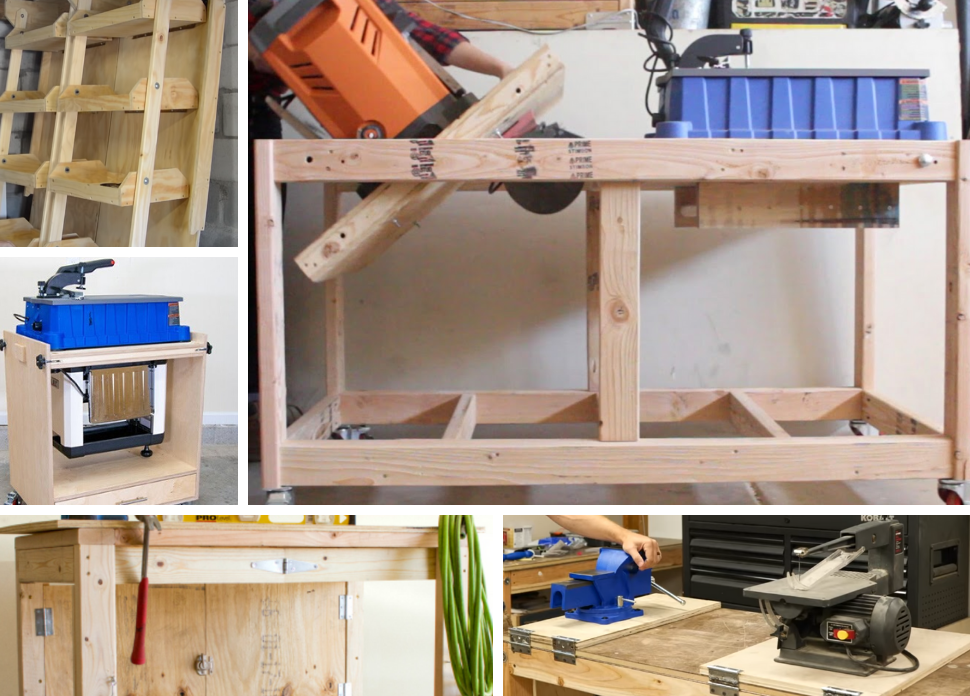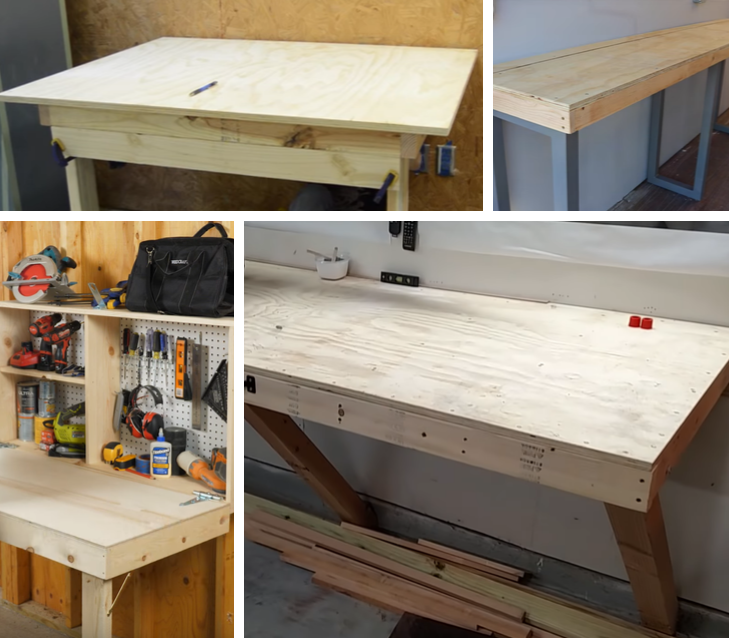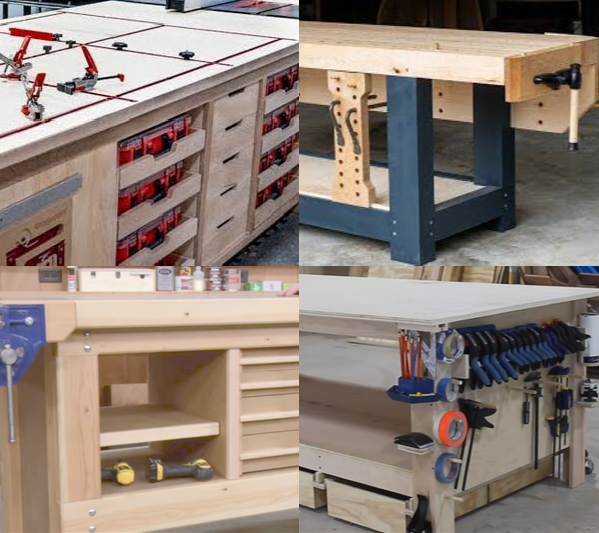
When contemplating building those floating shelves, there are plenty of options to choose from. We have put together a comprehensive list of some of the best floating shelf tutorials to help you figure out what option is best for you. From epoxy shelves, and live edge shelves, to custom hardware or purchased hardware floating shelves, we have covered all of the best options with the best tutorials out there. If you can’t find a good tutorial from our list, then it doesn’t exist. Enjoy!
Easy DIY FLOATING SHELVES No bracket | DIY CREATORS
Tools and Materials Used In This Floating Shelf Video:
- Gel Stain https://amzn.to/37mQEX1
- Pre-Stain Wood Conditioner https://amzn.to/333pKQK
- Polyurethane https://amzn.to/2QzL0e3
- Spray Can Gripper https://amzn.to/2KFlvEy
- Wall Anchors https://amzn.to/35iM6it
- Miter Box and Saw https://amzn.to/2QCZLwW
- Circular Saw https://amzn.to/2KCDUlg
- Orbital Sander https://amzn.to/2rev06w
- Level https://amzn.to/37okMRN
- Drill Bits https://amzn.to/345KYyv
- Speed Square https://amzn.to/2rdVJ3u
- Material Support Station https://amzn.to/37q91Ku
- Countersink Drill Bits https://amzn.to/35oSYL9
- Mallet https://amzn.to/2rYfZWV
Floating Shelf Video Summary:
I really like this video as he give a great breakdown of the process goes over each step in detail. I think one of the best things here, is that his process for creating these floating shelves is really economical, but also really efficient from a construction standpoint as he drills the holes before he cuts the support piece off of the back, which assures that the dowels will fit perfectly when attached. This is a great video and well worth watching.
Floating Shelf Video Breakdown:
(0:32) – Materials breakdown;
(0:52) – Cutting the lengths of each shelf with a support board;
(1:32) – Cutting the dowels and then marking, drilling, and sanding the locations of the dowels;
(2:40) – Cutting the shelf support off of the back of each floating shelf after the holes have been drilled to assure that the dowels line up perfectly;
(3:23) – Dowel sanding and preparation for proper fit;
(4:04) – Sanding the top and bottom of the floating shelves;
(4:14) – Attaching the dowels to the shelf support pieces;
(4:39) – Drilling pilot holes to lock the shelves in place;
(4:58) – Conditioning, staining, and coating the shelves;
(6:03) – Mounting the shelf supports;
(7:00) – Final shelves.
Unique Floating Shelf Video Clips:
(0:52) – He demonstrates a great way of cutting the board with a support beam to avoid having the final piece fall to the ground.
(6:56) – He gives a great tip for using a scrap wood for spacing to get the exactly equal spacing for multiple shelves.
How To Make the Stealth Shelf! (Homemade Concealment Shelf) | The King of Random
Tools Used In This Floating Shelf Video:
Video Summary:
This is an intricate and multi step project, but the result is really versatile. He has some excellent tips along the way for each step of the process. This floating shelf is quite different from all of our other examples, but we included it to demonstrate the many options available with the end result.
Floating Shelf Video Breakdown:
(0:12) – Materials overview;
(0:37) – Dimensions to cut;
(1:04) – Miter saw set up to help with cutting crown molding;
(1:30) – Measuring and cutting correct distances for molding cuts;
(2:48) – Trim measurement and cuts;
(3:09) – Assembly of all the pieces with brad nailer;
(4:26) – Hardware layout and installation;
(6:30) – Magnetic locking mechanism;
(7:54) – Stain application, aluminum plate addition, and chain installation;
(8:49) – Explanation of covert custom magnetic keys and opening the shelves;
(9:13) – Explanation of how to open the shelf and light addition;
(10:15) – Closing the case explanation;
(10:30) – Magnetic face plate option.
Unique Video Clips:
(1:04) – His tip on how to cut the molding on the miter saw is very helpful.
(10:15) – His idea for hiding the keys to this shelf is brilliant.
The Only DIY Floating Shelf Video You’ll Ever Need!!! | Ryan Penir
Tools Used In This Video:
- Miter Saw https://amzn.to/32Pq6KF
- Kreg Jig https://amzn.to/2QwDuAV
- Drill https://amzn.to/37dXHRG
- Brad Nailer https://amzn.to/2KsRHux
- Burnishing Tool https://amzn.to/2NRPQBC
- Level https://amzn.to/2NRY4tG
Floating Shelf Video Summary:
I included this tutorial for many of the reasons Ryan created the video. Its a great tutorial for how to batch many large floating shelves, and he gives great tips to think about to complete the project the right way.
Video Breakdown:
(0:45) – Dimensions and layout of the shelf supports;
(1:20) – Layout and marking the stud location to avoid a support piece getting in the way;
(2:22) – Cutting support pieces, pre-drilling pocket holes, and assembly of the shelf supports;
(4:3o) – Cutting and assembly of outer shelf pieces;
(7:55) – Burnishing the corner pieces to close the gaps where the sides come together;
(9:20) – Application of stain and lacquer, and final sanding of the lacquer with a scotch bright pad;
(11:09) – Installation of the floating shelves.
Unique Video Clips:
(6:14) – Excellent tip to hold the brad nailer in a way to avoid being hit by a deflected brad nail;
(7:55) – the Burnishing tutorial is fantastic.
Invisible Hardware Live Edge Floating Shelf | How to Make | DIY Tyler
Tools Used In This Video:
- Glue Bottle https://amzn.to/2pu7rWY
- Glue Roller https://amzn.to/340owH1
- Clamps https://amzn.to/2O2SJQt
- Arm-R-Seal https://amzn.to/2Kwuac7
- Tape Measure https://amzn.to/2XsXBRR
- Angle Ruler Square https://amzn.to/35dNAdL
- Impact Driver https://amzn.to/2QCOmgF
- Miter Saw https://amzn.to/357kQ6C
- Planer https://amzn.to/2NYNKzT
- Angle Grinder https://amzn.to/341WBXf
Floating Shelf Video Summary:
I included this video because Tyler brought together many different options to create his floating shelves: laminated layers, custom support construction, and a live edge face. Its not your average floating shelf, and he explains his process really easily for everyone to follow.
Floating Shelf Video Breakdown:
(0:58) – Cutting
(1:14) – Planning;
(1:32) – Gluing;
(2:09) – More the glued up boards;
(2:22) – Cutting and jointing the flat back of the floating shelf;
(3:19) – Cutting to final length;
(3:41) – Cutting strip off the back as the wall anchor;
(4:12) – Layout and drilling the holes for the support bolts ;
(5:11) – Explanation of drilling jig he made to drill the holes into the floating shelf with the live edge front face;
(6:07) – Cutting and epoxying the support bolts;
(6:52) – Explanation of how to recess a screw hole to make sure that the shelf doesn’t come off;
(8:03) – Sanding and application of finish;
(8:30) – Layout of shelf on the wall and mounting to the wall.
Unique Video Clips:
(3:41) – Rather than just buying hardware, the cut off the last inch and a half of the shelf and attached bolts to that piece to anchor the shelf on the wall.
(5:11) – His explanation of the drilling jig he created to drill into the back of the live edge shelf is a really helpful solution.
Trash Wood To Treasure – DIY Epoxy River Floating Shelves – Hidden Hardware | Jonny Builds
Tools Used In This Floating Shelf Video:
Floating Shelf Video Summary:
I included this video as it has a really great breakdown of how to use epoxy in woodworking, and specifically with these floating shelves. Jonny does a great job of breaking down each step of the process he uses, and, though it sounds cliche, makes it looks so easy. Following the steps outlined in this video will make all your epoxy-floating-shelf-dreams come true.
Floating Shelf Video Breakdown:
(0:08) – Selecting wood pieces for his shelves;
(0:48) – Cleaning up the live edge, cutting, planning;
(1:30) – Cutting and building the form, lining the form with tuck tape, screwing the forms together, and shelf layout;
(3:08) – Application of shellac to prevent the epoxy from staining the wood;
(3:22) – Hot glue to hold the slabs in place, and tape to cover areas for different color epoxy;
(3:54) – Mixing, coloring, and pouring the epoxy;
(5:34) – Removing forms from the shelves, planning excess epoxy, and filling holes;
(6:25) – Construction of straight-line-rip jig in order to get straight edges on all sides of the shelves, and squaring up the ends ;
(8:07) – Addition of 45 degree chamfer with hand router;
(8:28) – Sanding and polishing the epoxy;
(8:47) – Floating shelf layout and wall bracket mounting;
(9:06) – Drill guide jig and drilling the holes in the floating shelves;
(10:14) – Application of simple finish wax;
(10:32) – Mounting floating shelves on the wall;
(11:15) – Epoxy explanation.
Unique Floating Shelf Video Clips:
(4:15) – Jonny has a great explanation of how to apply the epoxy so as not to generate too much heat all at once and to avoid cracking; see also minute 11:15 of this video for why he uses the total boat 2:1 resin epoxy verses other options (its actually worth listening too).
Turning an Old Log into Floating Shelves | DIY Woodworking | Fix This Build That
Tools Used In This Floating Shelf Video:
- Invisible Shelf Hardware https://amzn.to/335BUZq
- Impact Driver https://amzn.to/2pyMqKY
- Forstner Bits https://amzn.to/2KAeUuT
- Parallel Clamps https://amzn.to/2O1O4y1
- Dust Mask https://amzn.to/332klJs
- Polyurethane https://amzn.to/2pzG79W
- Carpenter Square https://amzn.to/2OqpBRV
- Planer https://amzn.to/35hakd9
- Band Saw https://amzn.to/2D5WeiN
- Jointer https://amzn.to/2rXeNDm
- Sander https://amzn.to/35iRyCb
- Table Saw https://amzn.to/37hI7Vk
Floating Shelf Video Summary:
I really liked this video as it gave another option for the type of floating shelf, a live edge wood shelf. I really liked how he broke down his process from cutting up the original log into each floating shelf. This is a concise efficient video and other great tutorial for a fantastic looking project.
Floating Shelf Video Breakdown:
(0:11) – Splitting log in half and roughing out the shelves;
(1:02) – Band saw log sled jig;
(1:52) – Securing the log to the sled and making the cut;
(2:44) – Jointer and planer used to cut down the size of each log;
(4:05) – Mounting hardware hole drilling on both shelves;
(5:33) – Sanding and finish application;
(5:55) – Mounting the hardware and floating shelves on the wall.
Unique Floating Shelf Video Clips:
(1:02) – This band saw jig tutorial is great for cutting live edge logs without ruining your equipment
How To Build DIY Floating Shelf with Invisible Hardware | Crafted Workshop
Tools Used In This Floating Shelf Video:
Floating Shelf Video Summary:
I really like how he breaks down his tools and materials used on this project at the start of this video. This seems at first glance like it is an overly simple project, but that is due to his great execution of the process, as he makes it look easy. This is a quick and thorough video that is well worth your time and effort to watch.
Video Breakdown:
(0:00) – Video summary, tool breakdown, and materials to be used ;
(0:42) – Jointer, planer, and table saw used to square up the rough lumber;
(2:20) – Project layout and joinery;
(3:26) – Floating shelf assembly with dowels and gluing;
(4:15) – Finish chamfer inner edge finish with chisel ;
(4:44) – Shelf support hole layout and drilling;
(5:13) – Sanding and finish;
(5:51) – Hanging the floating shelves.
Unique Video Clips:
(5:51) – His demonstration of how to mark the second hardware drilling location (so as to get a level shelf) is fantastic.
Tell us your favorite tutorial in the comments below. Let us know if you find a floating shelf tutorial that should be added to our list and we will include it in our next update.


