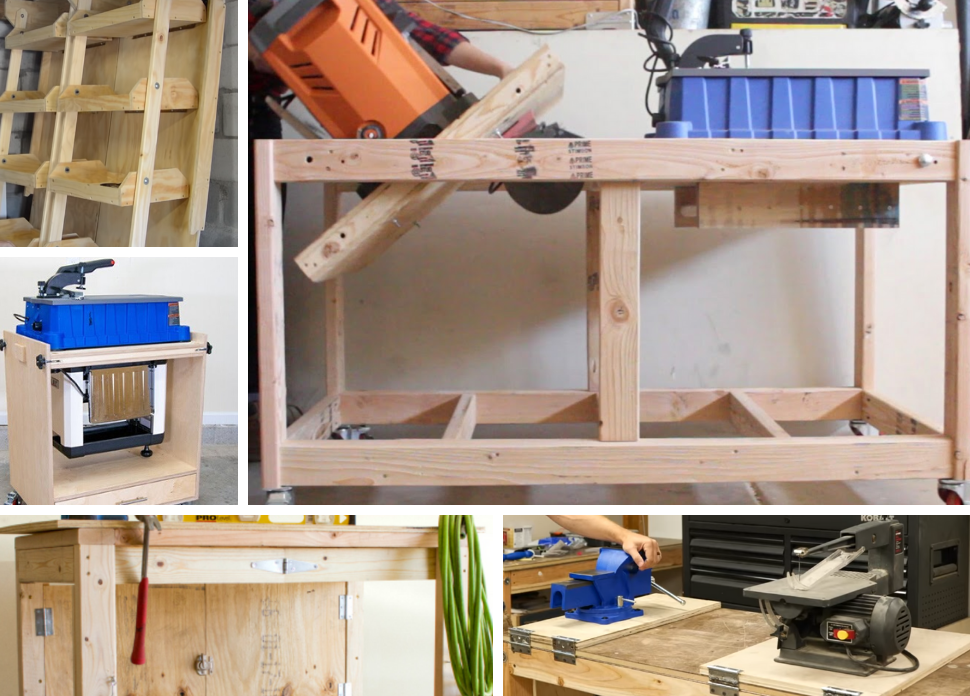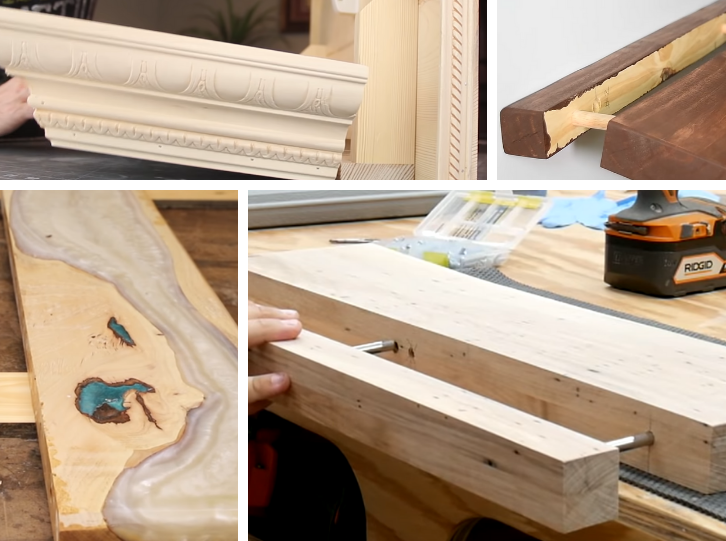
Do you ever find a bunch of scraps around your wood shop that you just can’t bring yourself to throw away? You say to yourself, “I can’t throw this away, because the minute I do, I will be working on something and I will need this piece.” Well, that time is now. The following videos offer just a couple of the many scrap wood projects that you can make with the left overs from your past wood working projects. If not specifically one of these projects, maybe this post will be a catalyst for you to start working on those side projects you have been thinking about where you can put all of that great scrap wood to use.
Butcherblock table made from scrap hardwood |
TG Woodworking
Tools Used In This Scrap Wood Project Video:
Scrap Wood Projects Video Summary:
This butcher-block out feed table made from scrap wood doesn’t have any voice over, but it doesn’t really need it. This project is really straight forward even if you have never done any wood working at all. He does give helpful hints through text on the different steps he took and how long he waited between steps. Overall it’s a great example of a fun project that you can make from scraps around the shop.
Scrap Wood Project Video Clips:
(0;12) - Ripping and planing;
(1:31) - Layout of table and gluing;
(3:50) - Squaring and planing the glued pieces;
(4:36) - Gluing and sanding the larger pieces;
(5:07) - Sanding and squaring the final table;
(5:50) - Teak oil finishing;
(6:55) - Attaching the legs to the scrap wood table project.
10 Cutting Boards from Scrap Wood Build | John Malecki
Tools Used In This Scrap Wood Project Video:
Scrap Wood Projects Video Summary:
I liked this scrap wood cutting board video because it shows how elegant a simple project can be if you put some effort into the project. I like that fact that he used this video to do several different cutting board designs all at once. Though there are tons of cutting board tutorials out there on the internet, I chose this one because it succinctly showed how the same project can be used to create multiple designs that look great in the end.
Scrap Wood Project Video Clips:
(0:30) - Sorting, layout, ripping, planing, and gluing;
(4:12) - Planing and squaring the glued scrap wood cutting boards;
(4:54) - Layout, cutting, and gluing of curved inlay;
(5:23) - Alternating wood grain;
(5:52) - Second curved inlay for the cutting board;
(6:53) - More planing and sanding;
(7:52) - Branding, final cutting, and finishing of the scrap wood cutting boards.
Unique Scrap Wood Project Video Clips:
(5:23) - I really like how he shows everyone how he does the alternating wood grain in the cutting board.
Scrap Wood Projects | Chris Salomone
Tools Used In This Scrap Wood Project Video:
Scrap Wood Project Video Summary:
This video is a great example of how a great coffee table project can be made from extra scrap wood around your wood shop. I like his explanation of why he chose the widths he did for the different scraps and the ratio each had to the base length. It’s a straightforward project that looks great when it’s all said and done.
Scrap Wood Project Video Clips:
(0:43) - Scrap wood coffee table;
(0:50) - Jointing, ripping and plaining the pieces;
(2:16) - Layout and gluing of the scrap wood pieces;
(3:27) - Base, apron, and leg ripping and cutting;
(4:20) - Sanding and planing;
(5:43) - Explanation of the base and leg layout;
(7:23) - Joining the legs to each other and the base;
(9:16) - Finishing.
Unique Scrap Wood Project Video Clips:
(0:50) - I really liked how he pointed out it doesn’t matter the exact size of each piece but the relationship each one has to the base piece.
(5:14) - He wasn’t afraid to show a part of the project that didn’t come out exactly as planned.
Make A Mallet From Scrap Wood | How To - Woodworking / DIY | Crafted Workshop
Tools Used In This Scrap Wood Project Video:
Scrap Wood Project Video Summary:
This is a great video that goes over a fun DIY mallet project to make with scrap wood from around your woodworking shop. He broke down the process he used to make the mallet very thoroughly and efficiently and made it look like a very doable project. His choice of colors for each mallet also made the finish products look great.
Scrap Wood Project Video Clips:
(0:34) - Cutting, ripping, and planing;
(1:28) - Hole layout and drilling;
(2:11) - Glue up and bbs added;
(2:43) - Flattening edges with the hand planer;
(3:11) - Bevel added to each corner of the mallet heads;
(3:47) - Final tripping;
(3:55) - Mallet handles;
(4:22) - Tenon cutting with dato stack;
(5:47) - Relief cuts for the wedges and router-ing of the handle;
(6:11) - Handel installed in the mallet;
(6:48) - Trimming, sanding and finishing of the scrap wood mallet;
(8:01) - Tips for wedge length to avoid splitting the handle;
(8:28) - He recommends using hardwoods for this project.
Scrap Wood End Grain End Table | How To Build - Woodworking | Crafted Workshop
Scrap Wood Project Video Summary:
Tools Used In This Scrap Wood Projects Video:
Another excellent video from the Crafted Workshop. As usual he does a great job of explaining each step for creating this scrap wood end table project. I also really liked how he gave tips throughout the video on how wide to layout the pieces and strips he was gluing so as to make each strip usable on his planer.
Scrap Wood Project Video Clips:
(0:41) - Cutting the wood scraps;
(0:58) - Planing the cut wood scraps;
(1:15) - Arranging the strip pattern for each layer;
(1:38) - Ripping and planing lots of scraps;
(1:51) - Gluing the scrap wood strips;
(2:28) - Planing each scrap strip;
(3:26) - Jointing and ripping each strip to the final width and height;
(4:24) - Assembly and gluing together of the strips with a domino;
(4:57) - Scraping and flattening of the sides and top with a jack plane and card scraper;
(5:44) - Crosscut of the legs with the table saw;
(5:57) - Chamfering and sanding the legs and sides of the end table;
(6:31) - Finishing with a spray finish.
DIY Stackable Salt Cellar // Easy Woodworking Project // No Lathe // Scrap Wood Project | 3x3Custom - Tamar
Tools Used In This Scrap Wood Project Video:
Scrap Wood Project Video Summary:
This is well-done, efficient, and thorough video for how to do a fun project. She says up front, that she doesn’t have a laythe and that this project could be on one, but she uses her alternate method and does a great job of explaining how to do it yourself each step of the way. I like the end look and feel of this scrap wood project, and because its scalable, making more than one of these to use as gifts could be very doable.
Scrap Wood Project Video Clips:
(0:30) - Cutting the pucks with a hole saw;
(1:09) - Drilling out the inner bowl of each puck;
(2:27) - Router use on the bottom of each puck for nesting;
(3:00) - Cutting and joining the brass and wood circles for the cover;
(4:09) - Sanding and finishing;
(4:39) - Summary of the projects and what she would and would not have done different.
Unique Scrap Wood Project Video Clips:
(1:09) - I liked how Tamar explained how she found the center of each puck and also the method she used for drilling out each puck even though she didn’t have or use a lathe for this scrap wood project.
Swivel-lid guitar pick box | Steve Ramsey - Woodworking for Mere Mortals
Tools Used In This Scrap Wood Project Video:
Scrap Wood Project Video Summary:
This is a short, thorough, and doable scrap wood project. One of the best aspects of this video is that the method can be applied, not only to a guitar pick box, but also to any other desired shape.
Scrap Wood Project Video Clips:
(0:26) - Cutting out the shape of the box and the 3 pieces that make the top, middle, and bottom of the box;
(0:52) - How to layout and drill the holes for the pivoting lid and magnets;
(2:06) - Magnet and dowel-hinge assembly;
(2:59) - Gluing the dowel-hinge, bottom, and top of the box;
(3:24) - Engraving, painting, sanding, and finishing.
Unique Scrap Wood Project Video Clips:
(0:52) - I like how he laid out the box so that it hid the hinge and magnetized the hinge; I also like the fact that this box could be used for any number of shapes, by just using the same methods for the new shape.


