A DIY miter saw station might come to mind when find yourself kneeling on your garage floor hunched over your miter saw that you just plugged into the nearest outlet. If you’ve ever found yourself in that situation, it might be time to build your own miter saw station. A miter saw station can be really handy to have set up, not only to be able to have stop blocks to make quick work of redundant cuts, but also to have support for the pieces you are cutting so they don’t fall to the floor at the end of the cut. The following videos offer great tips and things to think about before you design and build your own miter saw station.
Miter Saw Station // Woodworking How To | I Like to Make Stuff
Products Used In This Video:
Miter Saw Video Summary:
Bob does a great job describing his process and the tools he is using and not using. For instance he mentions during assembly that you can use wood glue for this project but he decided not to incase he would like to take it apart in the future. I also like the fact that he shows you ever step of the way and speeds up the footage. This makes the video much easier to view and doesn’t drag on like other nameless video’s that are out there.
Miter Saw Video Breakdown:
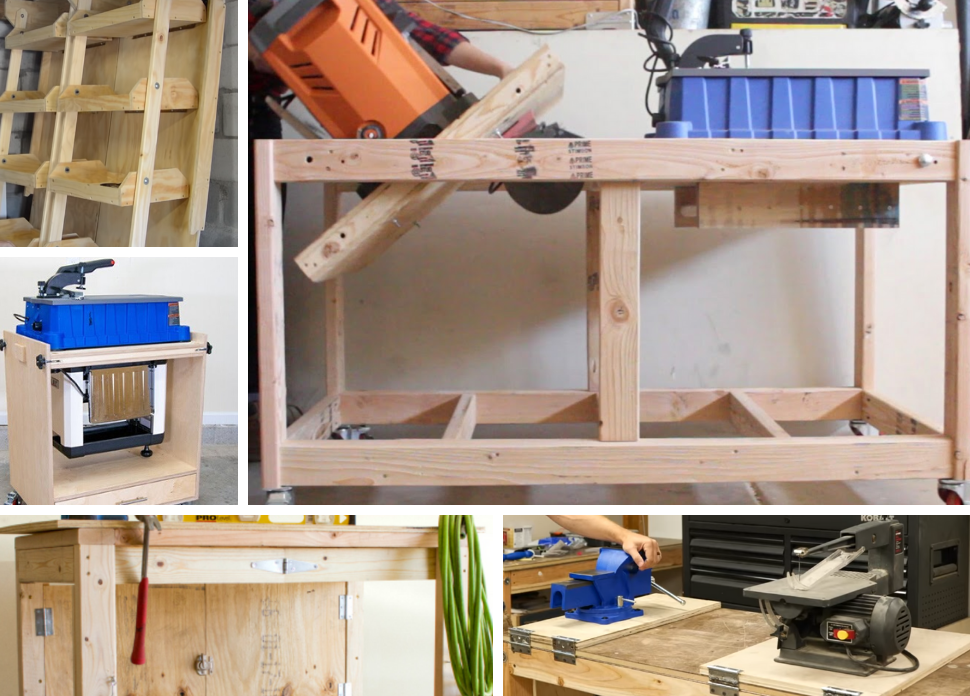
(0:40) – Measuring and cutting with a stop block;
(0:55) – Layout and pocket screw assembly of supports;
(2:08) – Measurement and assembly of table height and orientation;
(2:30) – Plywood cutting and assembly;
(3:12) – Dust box and dust collection port explanation;
(4:00) – Miter saw and table top installation;
(4:20) – Miter saw fences;
(5:55) – Shroud layout for miter box;
(6:41) – Shroud assemble and dust collection test explanation;
(7:12) – T-slot track added to the face of the fences;
(7:36) – Fence installation and leveling;
(7:52) – Sliding stop block;
(8:27) – Explanation of final layout and decisions made.
Unique Miter Saw Video Clips:
(2:40) – I liked the table saw jig he used to cut his plywood.
(3:35) – I liked how he explained how he figured out the best places to install the dust collection ports and the showed the process for the two-inch margin to account for the underlying 2×4’s that he used to cut out the ports in the plywood.
(4:33) – Bob had a great explanation of the miter saw fence assembly and the important things to think about during assembly.
Using Your Suggestions to Improve the Miter Saw Station | I Like to Make Stuff
Products Used In This Video:
Video Summary:
The miter saw video he did before was great and this follow up video makes tons of improvements. There are so many details in this video that improve the overall experience, like the improved dust collection grates and the removable hood. Bob makes a lot of great improvements to this project and explains the hows and whys extremely well in this miter saw station tutorial.
Video Breakdown:
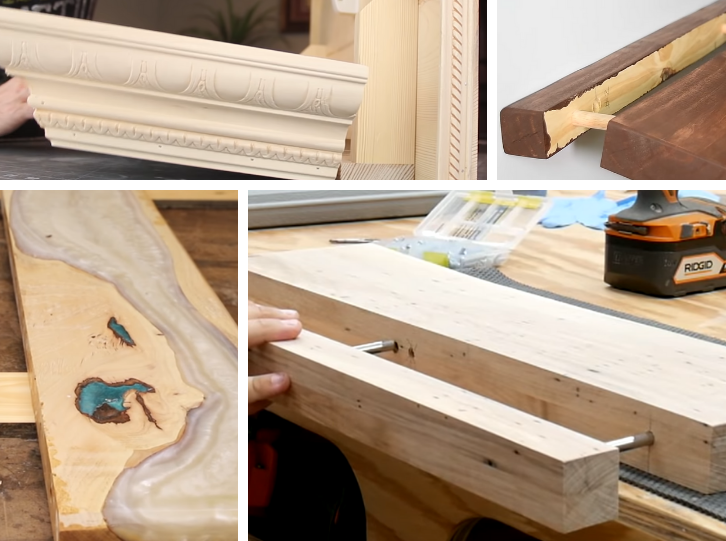
(0:29) – Chamfer to the stop block;
(1:00) – Changing the table and shroud to allow for compound miter saw cuts;
(4:39) – Addition of grates to the dust collection holes;
(5:36) – Addition of wood with angled chamfer to push dust into the collection ports;
(5:50) – Miter saw installation in box;
(6:09) – Reworking of shroud face plate;
(7:26) – Creation of storage shelves behind the miter saw fence;
(9:55) – Adhesive ruler added to fence;
(11:02) – Final explanation and discussion of changes made.
Unique Video Clips:
(2:55) – I liked how he used a cleat to hold the table in place during installation.
(5:36) – I liked that he added extra pieces in his miter saw box to push dust from the collectors into the ports.
(6:54) – I thought it was really smart of him to make the faceplate for the shroud detachable with magnets.
The Ultimate Mobile Miter Saw Station | Ollari’s
Products Used In This Video:
Video Summary:
This is a mobile miter saw station made from plywood. He uses dowels (1:00) to assemble the main box, and then attaches hinges for the fold-able tables and fences to fold down out of the way when not in use. Overall, I thought it is a very simple, and easy design to layout and assemble. The only thing I would worry about is how stable the table would be if too much weight is added to the ends(7:11).
Video Breakdown:
(0:30) – Plywood layout, cutting, and sanding;
(1:00) – Dowel hole drilling;
(1:30) – Gluing and box assembly;
(2:44) – Wheel installation;
(3:30) – Foldable table and fence extension installation;
(4:50) – Miter table extension framework assembly;
(5:40) – Support pieces for the table extension wings;
(6:38) – Wood u-plates for the wings to lock in under the foldable tables;
(7:47) – Drawer assembly;
(9:12) – Installation of drawers to mobile table;
(9:40) – Finished product.
Unique Video Clips:
(1:34) – I though it is funny how he filled a ketchup bottle full of wood glue.
(6:20) – I liked how he installed an adjustable screw at the end of the wing support so that the height of the foldable table extensions could be adjusted up and down.
Simple Miter Station Build. Easy Shop Project! | Make Something
Tools Used In This Video:
Find the plans for this miter saw station here.
Video Summary:
This is an interesting video, and I really like the aesthetics of the finished product. I would have thought that he was going to go into more detail on how he figured out the height for the saw support section and the method he used to install and brace the fence. Overall I liked how quickly the table came together and how easy he made the assembly.
Video Clips:
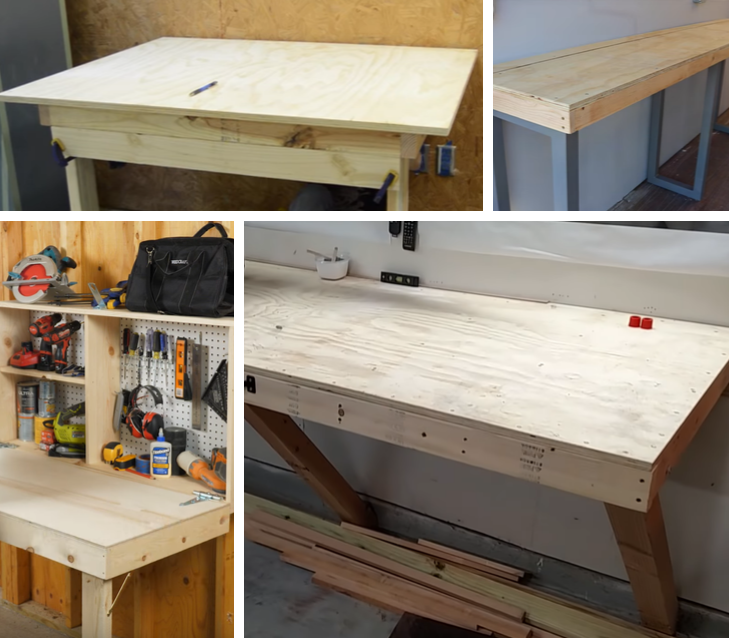
(0:58) – Cutting, layout, pocket holes of legs and side pieces for the miter saw station;
(1:50) – Connecting rails and structural support of the miter saw table sides and legs;
(3:30) – Cutting and attaching the tops of each wing;
(5:10) – Connecting the miter saw table wings and the miter saw base support;
(6:12) – Miter saw fence construction;
(8:04) – Connecting he miter saw to the table;
(8:18) – Dust extraction for the miter saw table;
(10:20) – Attaching the measuring tape to the miter saw station fence;
(11:28) – Material and cost breakdown.
Unique Video Clips:
(11:28) – I really liked how he went over the cost and breakdown of the materials for the table, which not many other videos do. It’s nice to have an idea of what a project will cost before you start it.
Why I don’t have a HUGE Mitre Saw Station |Gosforth Handyman
Products Used In This Video:
Video Summary:
I thought that the only way to have a professional wood shop was to have a large miter saw station with long fences. This video definitely puts that theory to rest. He goes over the problems with most big stations, and the solutions he has come up with to make his work station really versatile.
Video Breakdown:
(3:20) – He explains the problem when you try to cut a board that isn’t perfectly straight;
(4:23) – Shows the spacing problem with the wood when its not flush with the fence due to the bow in the board;
(6:55) – He removes the simulated long miter saw station fence and shows the block he uses to support the wood he cuts;
(7:30) – End stop system he uses;
(9:16) – Example of what he does when he wants to cut multiple small pieces with a stop block;
(10:00) – Notes how his miter saw is still versatile, but laments the lack of good dust collection.